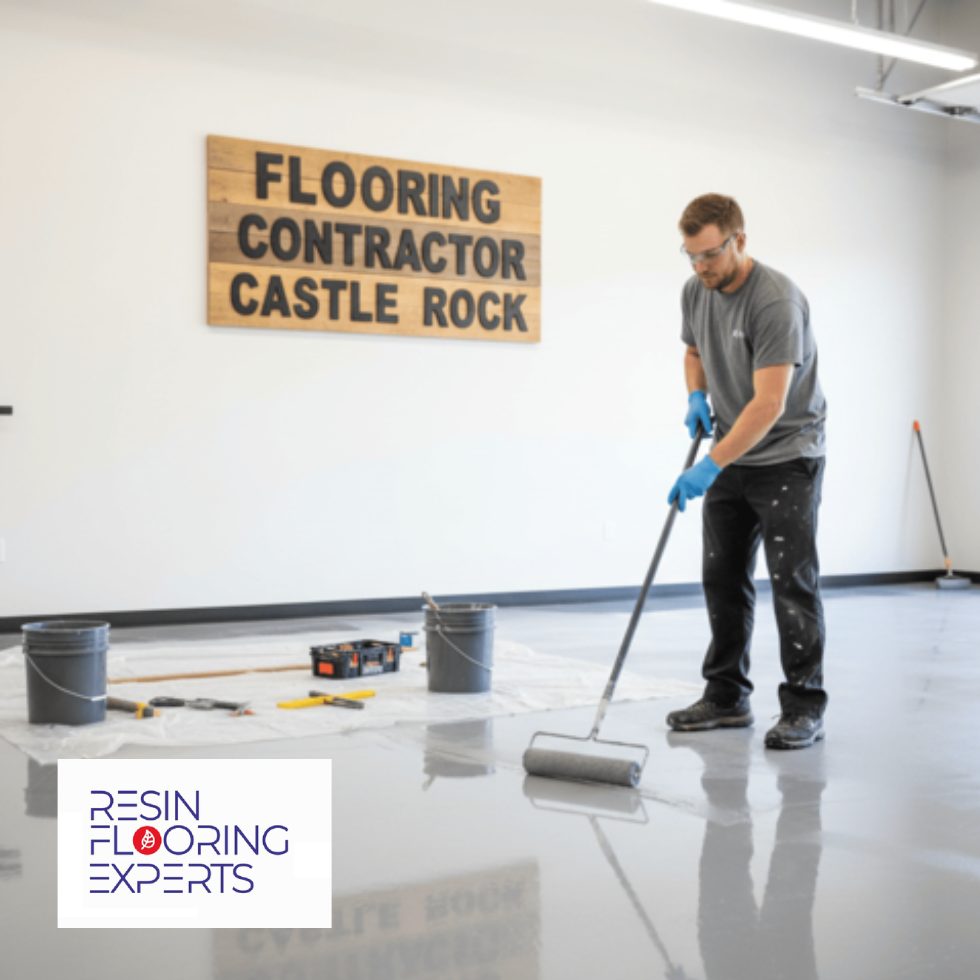
Epoxy flooring works well for residential garages or busy commercial spaces. Here is why: It is tough. It can handle impacts, stains, and wear that would ruin other floors.
But there is more. Epoxy coatings can improve how a space looks. You can pick from many colors and finishes. You can even add decorative flakes or metallic colors for a custom look. For property managers or business owners in Castle Rock, you can make a clean, professional space that wows clients and customers. For homeowners, you get a garage or basement that looks good and is easy to clean.
Keep this in mind: Epoxy is tough, but not unbreakable. Scratches, chips, and fading can happen over time. That is where restoration and overlays help. Instead of replacing the floor, you can fix the epoxy or add a new layer. This saves money and makes your floor last longer. Plus, you can update the look if you want something different. Ignoring these steps can cause bigger damage later. That means more money and trouble.
Let’s discuss what damages epoxy floors. Usually, it's several factors over time. Heavy use is a major factor, especially in commercial spaces. Forklifts and constant foot traffic add up. Temperature changes are also a real problem. Expansion and contraction can weaken the epoxy, causing cracks.
Chemical spills are another cause. Even with chemical-resistant epoxy, some chemicals can stain or erode the surface if they sit too long. The substrate matters, too! If the concrete isn't prepped well or has cracks, the epoxy will mirror those issues. It's like a band-aid on a bigger problem.
What should you watch for? Chipping is clear, but it starts small sometimes. Cracks can be hairline at first, so inspect closely. Discoloration can come from UV light or chemical spills. Ignoring these signs means bigger, pricier repairs later. Spotting it early makes for a simpler fix and keeps your floor looking good.
First, look closely at the epoxy floor. What damage do you see? Small cracks and scratches are often fixable. Missing chunks or peeling epoxy are a different story. Take photos! Good records help you (and contractors) understand the problem. This is important for real estate investors who need to assess damage quickly before making choices.
Superficial scratches are common in high-traffic areas. These are often cosmetic and don't hurt the epoxy. You can often buff these out or add a new top coat. Deeper scratches can let moisture and dirt get under the epoxy. If you ignore these, bigger problems can occur, like separation. Identifying the depth of the scratching is key to picking the right fix.
Separation happens when the epoxy starts to come away from the concrete. You'll see bubbles or peeling. This is a big deal. It means the bond between the epoxy and the floor is failing. Small areas of separation can sometimes be fixed, but widespread separation often means you need a full overlay. Business owners, especially those with retail spaces, should fix separation quickly to prevent accidents and keep a professional look.
Cracks are almost unavoidable, especially in concrete floors. Small cracks in the epoxy can often be filled. If the cracks are wide or deep, or if they go into the concrete, that's a sign of a more serious issue. You might need to fix the concrete before repairing the epoxy. Ignoring structural cracks can cause more damage and costly fixes later.
When do you choose an overlay instead of a simple fix? If more than 30% of the floor is damaged, an overlay is likely best. Also, if you see several types of damage—cracks, scratches, separation—an overlay provides a fresh start and a more even look. It might seem like a bigger cost at first, but it can save you time and money by preventing repeat fixes and making your floor last longer.
Minor damage on your epoxy floor? No problem. You can often fix it. First, clean the area well. Remove any dirt, grease, or loose particles. This ensures the patch will stick.
Now, for a scuff or dull spot, you might just need a spot coating. Clean the area, and lightly sand the existing epoxy. This creates a good surface. Then apply a thin layer of a self-leveling epoxy topcoat. This blends the repair with the existing floor.
For small cracks or chips, use an epoxy patching compound. You can find these at most hardware stores. A product like the PC-Concrete Two-Part Epoxy Repair works well. Mix it per the directions. Then trowel it into the damaged area, and smooth it out. Let it cure fully, usually for 24–48 hours.
A common mistake? People don't prep the surface well. You must clean and sand. Otherwise, the new epoxy won't bond. You'll have to redo it soon. Also, don’t rush the curing time. Epoxy needs time to harden. If not, it will stay soft. Skip these steps, and you will have a bigger problem.

Sometimes an epoxy floor gets really messed up. It might be seriously damaged, or maybe the color is outdated. You don't always have to rip the whole thing out and start over. That's where epoxy floor overlays come in.
Think of an overlay as a fresh start. It's a new epoxy layer that goes right over the existing floor. There are different kinds, and what you pick depends on what you need.
Self-leveling epoxy is great if the original floor is uneven or has cracks. It fills everything in and creates a smooth, flat surface. Next, you have flake epoxy, where you add colored flakes for a decorative look. Metallic epoxy is another option. It gives the floor a shimmery, almost three-dimensional effect.
For Castle Rock properties, think about where the floor is. Self-leveling might be perfect for a commercial kitchen that needs to be easy to clean. Flake or metallic could jazz up a showroom or even a residential garage. The big thing is to make sure the existing floor is prepped right. You have to clean it, maybe grind it down a bit, so the overlay sticks properly. If you skip that, the new layer could peel or crack, and you're back to square one, but with more work this time.
Want to overlay an existing epoxy floor? Great idea if the old one is worn but still sound. Remember that project success depends on the prep work. This is key.
First, clean the existing floor well. Use degreasers and detergents. Any oil, grease, or contaminants stop the new epoxy from bonding. It is like taping something to a greasy surface—it will not stick.
Next: grinding. You must grind the existing surface. This is not just about smoothness. It is about creating a profile, or tiny scratches, that let the new epoxy grip. Use a concrete grinder with diamond grinding pads. Do not skip this.
Profiling is key. Aim for a rough, but not too rough, surface. Think medium grit sandpaper. Skip this, and you risk your new floor peeling later. Not good.
Finally, patching. Fill any cracks, chips, or divots with an epoxy patching compound. Let it cure, then grind it flush with the floor. Otherwise, those flaws show through the new coating.
Yes, surface prep is tedious. But it is the base for a lasting epoxy floor. Skip it, and you will redo the job sooner than you want.
Looking at epoxy overlays? Picking the right one is key. Looks matter, but there's more to it. Think about what the floor will face.
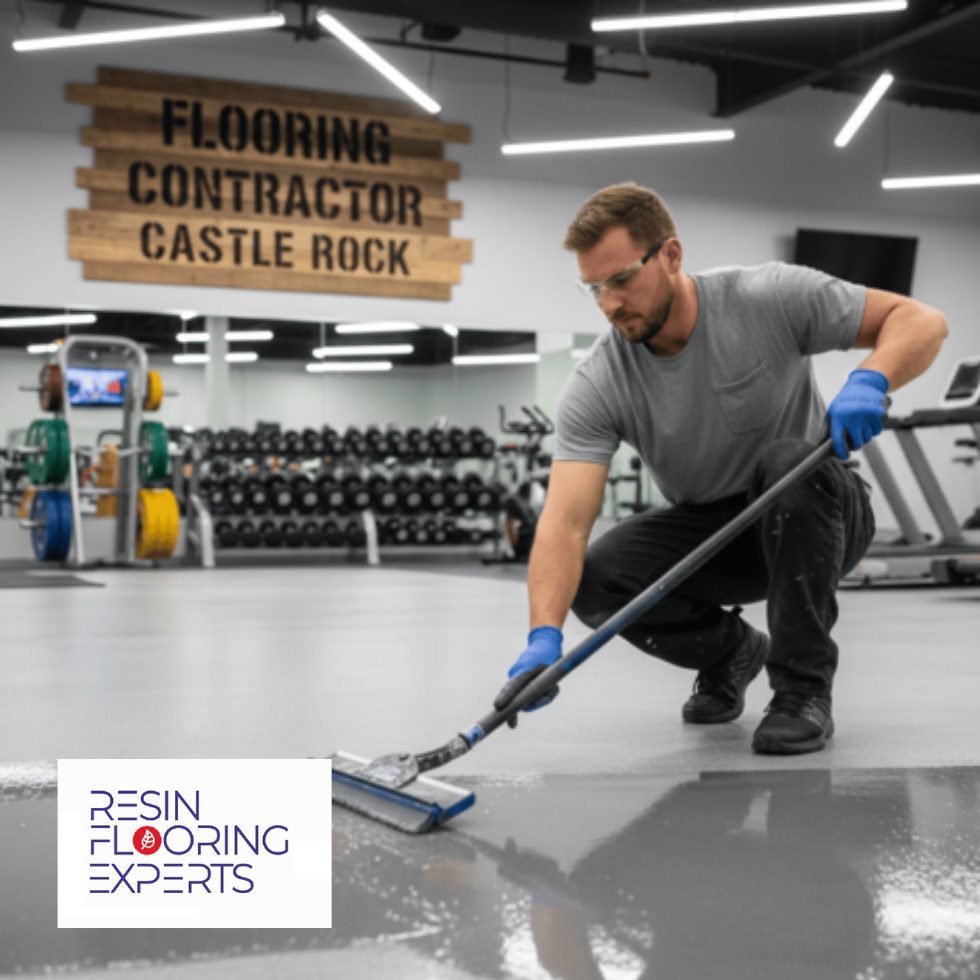
For Castle Rock contractors, consider this: Is it a garage with constant car traffic? Wear resistance is important. Or a restaurant kitchen with spills? Chemical resistance is the priority.
UV stability matters near windows or outdoors. Otherwise, the color fades. What about slip resistance? It's critical for safety, especially in commercial spaces or homes with kids.
Budget matters. But don't go too cheap. A cheaper epoxy might not last. Redoing it costs more and creates hassle.
Also, consider the overlay's thickness. Thicker isn't always better, but it often adds durability. Talk to your supplier about each job's needs. They can guide you to the right system based on traffic, chemicals, and the environment. Getting this right saves trouble later.
Ready to apply an epoxy floor overlay? First, mixing is key. Get the ratios correct. This is important. Follow the manufacturer's instructions exactly. Do not guess. Too much hardener makes it cure too fast, causing cracks. Not enough means it might not fully harden, leaving a sticky mess.
Next is pouring. Work in sections. Don't do the whole floor at once unless you have a large team. Pour evenly, then spread. Use a notched squeegee for even distribution. Slightly overlap each pass to avoid thin spots.
Here is a tip: watch for bubbles. They are not good. Use a spiked roller to release trapped air. Work fast, but completely. Missed spots will show later and are hard to fix.
Finishing is where it comes together. You might add a topcoat, depending on the look you want. Use a clear coat for extra protection or a colored coat for a different look.
Environmental conditions are important. If it is too cold, the epoxy will not cure right. If it is too humid, the finish might be cloudy. Aim for a temperature between 65-75°F and low humidity. Watch the forecast before you start! Also, surface prep is key. A clean, dry, and prepped surface is important for good adhesion. If you skip this, the overlay will fail.
After you apply epoxy, the curing process is very important. This is when the epoxy hardens and gains strength. This can take a few days to a couple of weeks. The product and environment, like temperature and humidity, affect this. You must protect the floor during this time. That means no heavy foot traffic or dropped tools. If it's in a garage, don't drive vehicles on it. Think of it like concrete, but more sensitive at the start.
Here is why. If you mess with it before it's fully cured, you can get dents, scratches, or a surface that won't hold up. You don’t want to do the job again, right?
Once it's cured, maintenance helps extend the life of your epoxy floor. Regular cleaning is a must. Don't use harsh chemicals! Use gentle, pH-neutral cleaners. Bleach or ammonia can dull the finish or damage the epoxy. A soft mop and mild detergent often work. For tougher stains, use an epoxy floor cleaner. They are safe and effective. Also, use mats in high-traffic areas to prevent scratches from dirt. It’s a small investment that can make a difference.
Epoxy floor overlays are no longer just gray and industrial. Consider them a blank canvas. You can create wild designs, which works for homes and businesses in Castle Rock.
Color is the most obvious choice. You aren't stuck with basic shades. You can choose almost any color. Want a bold floor for a game room? No problem. Need a subtle look for an office? Easy.
But it goes beyond solid colors. Patterns matter. Stencils let you create designs, like a geometric pattern in a kitchen or a stenciled border in a retail space. Logos are another idea for businesses. Imagine your company logo in your lobby or showroom. It makes a statement.
Then there are decorative aggregates. These are things like colored quartz, glitter, or small pieces of glass mixed into the epoxy. They add texture. For a homeowner, this could mean a shimmering floor in a bathroom. For a business, it could mean a durable surface with a touch of elegance.
Feel free to experiment. See what fits your style. A contractor can show you samples and help you visualize the result. The options are endless.
You have an epoxy floor. It looks great and feels durable, but it needs care. You want it to last in Castle Rock, right? We get snow and sunshine here.
Start with regular cleaning. Sweep or vacuum to remove dirt and grit. These can scratch the surface. Next, mop with mild soap and water. Harsh cleaners dull the finish. Microfiber mops pick up more dirt.
Scratches happen, mostly in busy areas. Use mats at entrances and felt pads under furniture to reduce them. Epoxy scratch repair kits fix scratches. Follow the instructions.
What about stains? Wipe up spills fast. Oil, grease, and chemicals are the worst. For tough stains, try denatured alcohol or acetone on a cloth. Test it somewhere hidden first.
For more protection, add a new epoxy coat every few years. It refreshes the look and protects against wear. It is like waxing your car. Sherwin-Williams or Home Depot have good floor care options. Skip this, and your floor will look dull and get damaged. It will need replacing sooner, and nobody wants that.
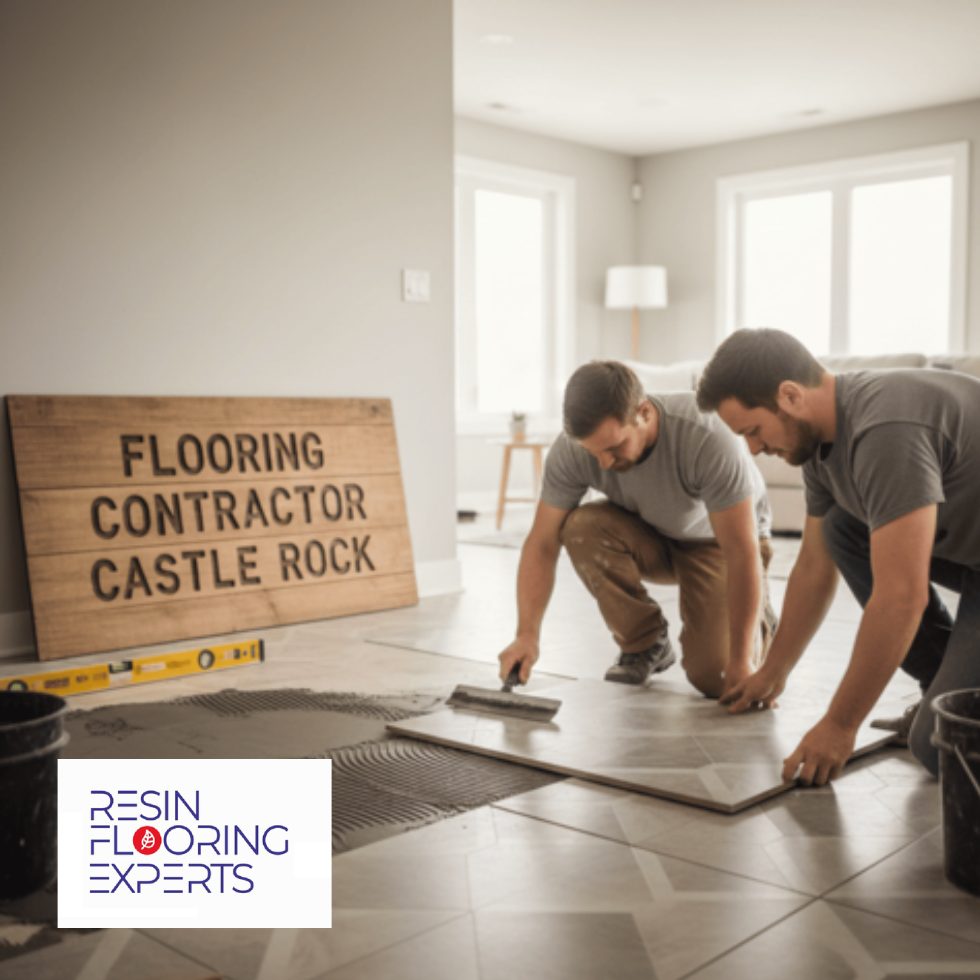
When should you call a pro for epoxy floor work? It's a good question. If you're working with a small area, like a utility room or small garage, and you're okay with DIY projects, you might handle a simple epoxy coating yourself. Kits are available, and you can find tutorials online.
For larger areas, especially in commercial spaces or high-traffic homes, hiring someone is the better move. Large surface areas need exact mixing and application to avoid problems. Any existing damage, like cracks, needs prep work. Pros have the tools and experience.
What about restoration projects? Call a professional. These jobs involve checking the existing floor, finding the issues, and choosing the right products to ensure a lasting result.
Why use a pro? They know what products work best. They have the right equipment to get a smooth finish. Plus, they offer a warranty on their work. That's peace of mind. If something goes wrong, you're covered. For homeowners, real estate investors prepping a property, small business owners wanting a durable floor, property managers maintaining units, or even builders aiming for quality, professional epoxy installation is the way to go.
Let’s talk about the cost to restore or overlay epoxy floors. It can be an investment, but it helps keep your floors looking good and lasting.
Expenses fall into three areas: materials, labor, and equipment. Materials include epoxy, primers, decorative flakes or color additives, and cleaning supplies. Labor is what you pay for the work. Equipment includes grinders, mixers, and application tools. You might need to rent some of these if you do it yourself.
Let's compare DIY to professional installation. DIY *seems* cheaper at first. But you must factor in your time and possible mistakes, which can be expensive to fix. You also need to rent or buy equipment. Professionals have the experience and tools to complete the job correctly. Plus, they often offer warranties.
For Castle Rock residents, a few things affect the price. The floor size, its condition, and the epoxy type all matter. Complex projects, like those with intricate designs or major damage repairs, cost more. Also, some contractors might charge more based on travel distance or building issues. Get quotes from different contractors to ensure a fair price in Castle Rock.
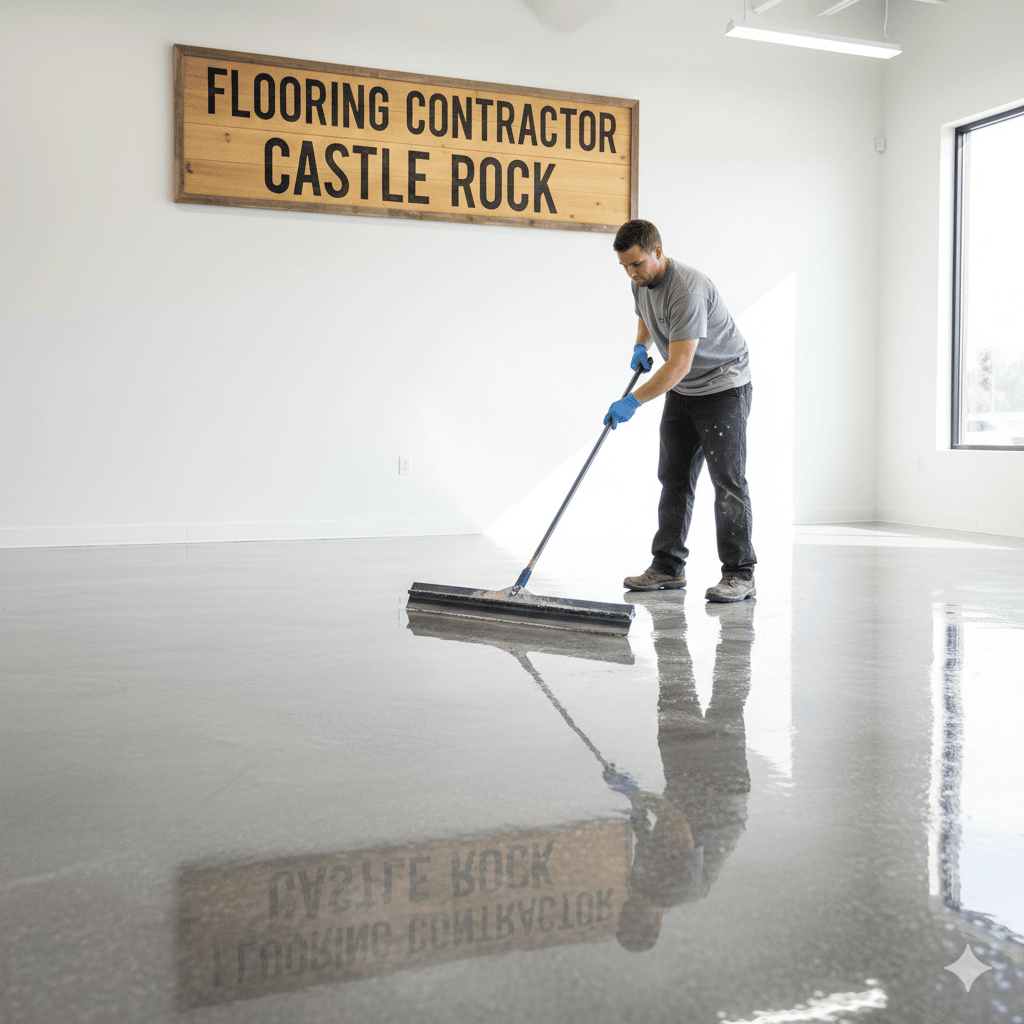
You've decided to restore or overlay your epoxy floor. Good choice! Let's quickly review the main steps. Getting this right pays off.
First, prep is key. Don't skimp. You must properly clean and grind the existing surface. This gives the new epoxy grip. Without it, you risk peeling and bubbling.
Next, mix the epoxy. Follow the instructions exactly. Too much of one part, and it won't cure right. Then, pour and spread it evenly. Self-leveling epoxy helps, but still, pay attention.
Finally, protect it while it cures. Keep dust, debris, and pets away. Let it fully harden before you add furniture or foot traffic.
Why do this? A maintained epoxy floor is tough. It can handle wear, whether in your garage, business, or living room. Plus, it's easy to clean. For Castle Rock properties, that sleek look can boost your property value. A little effort now means years of durable, good-looking floors.